

A visual you make in Atrium belongs to your organization, not to a project. To show it to a client, add it to their project, where it sits next to the rooms and products and follows the client's permissions, or send a share link that anyone can open without an account.
Add a visual to a project
- Open the visual in Atrium and click Attach to project in the black toolbar at the top right.
- Under Project, pick the project.
- To show it in a room too, pick the room under Show on a room (optional).
- Leave Visible to clients on if the client should see it, and click Add to project.
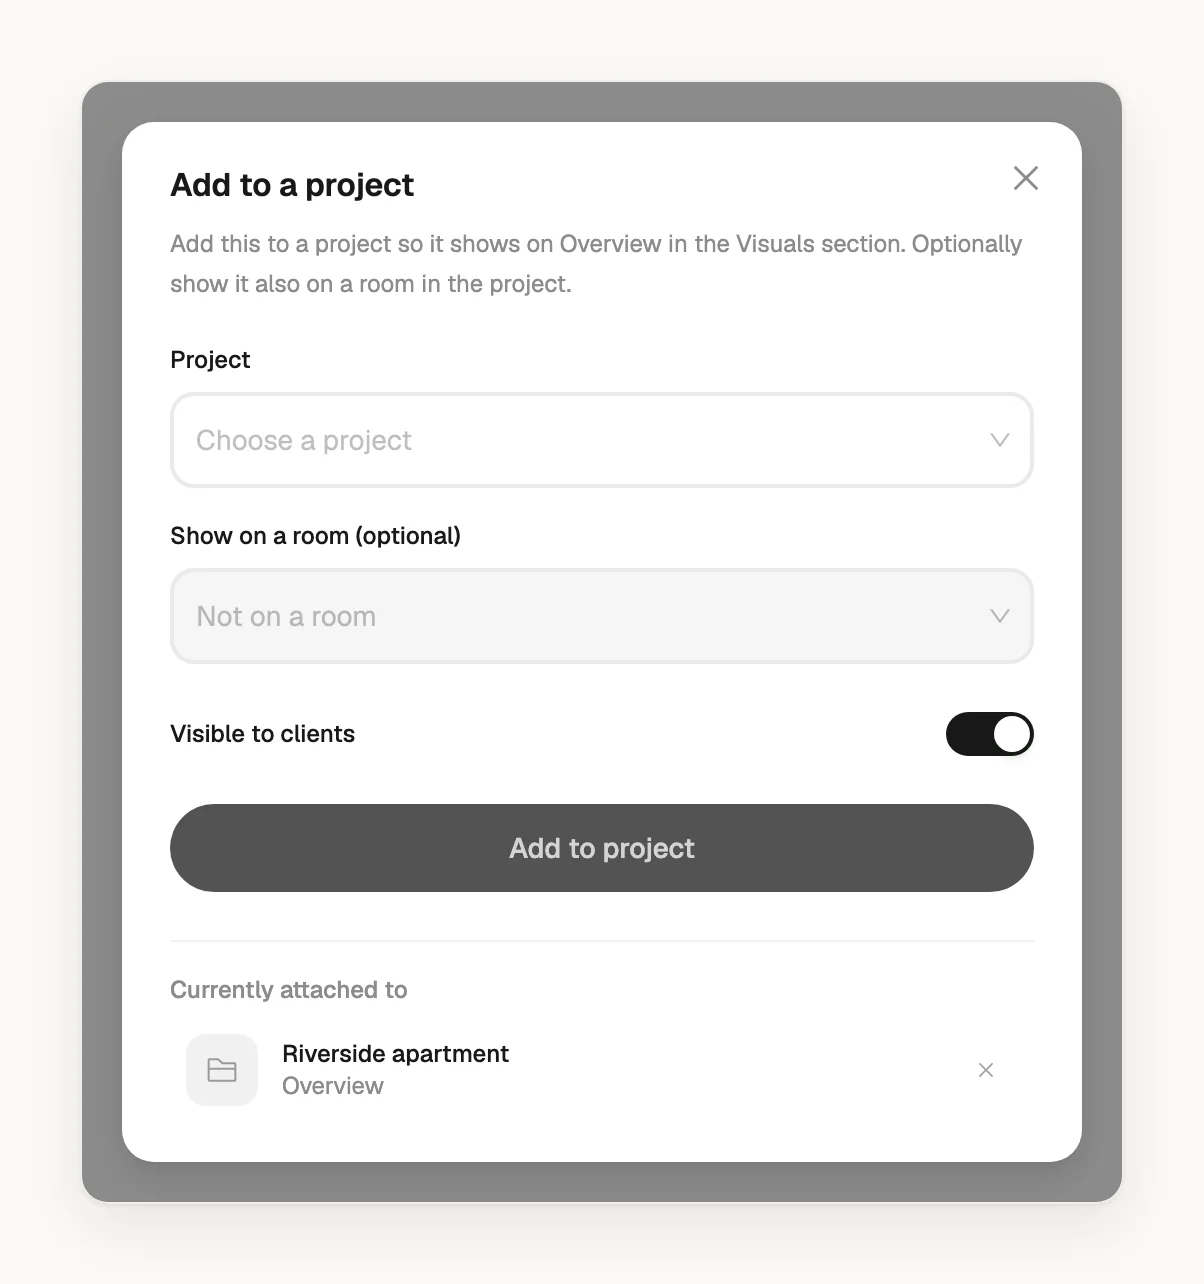
The visual shows in the project's Visuals section and, if you picked a room, in that room's Visuals and moodboards. A visual can be on several projects, but on one room per project. To change the room or take it off the project, open Attach to project again and click Update or Remove from project; it stays in Atrium.
You can also start from the project: in its Visuals section, click next to Generate with Atrium and choose Add from Atrium (in a room, it's in the menu). Visuals added this way are visible to clients straight away. To upload your own renders or photos instead, see How do I add visuals to a project?
What your client sees
Clients find visuals in the Visuals section under the rooms on the Overview tab, and inside the room you picked.
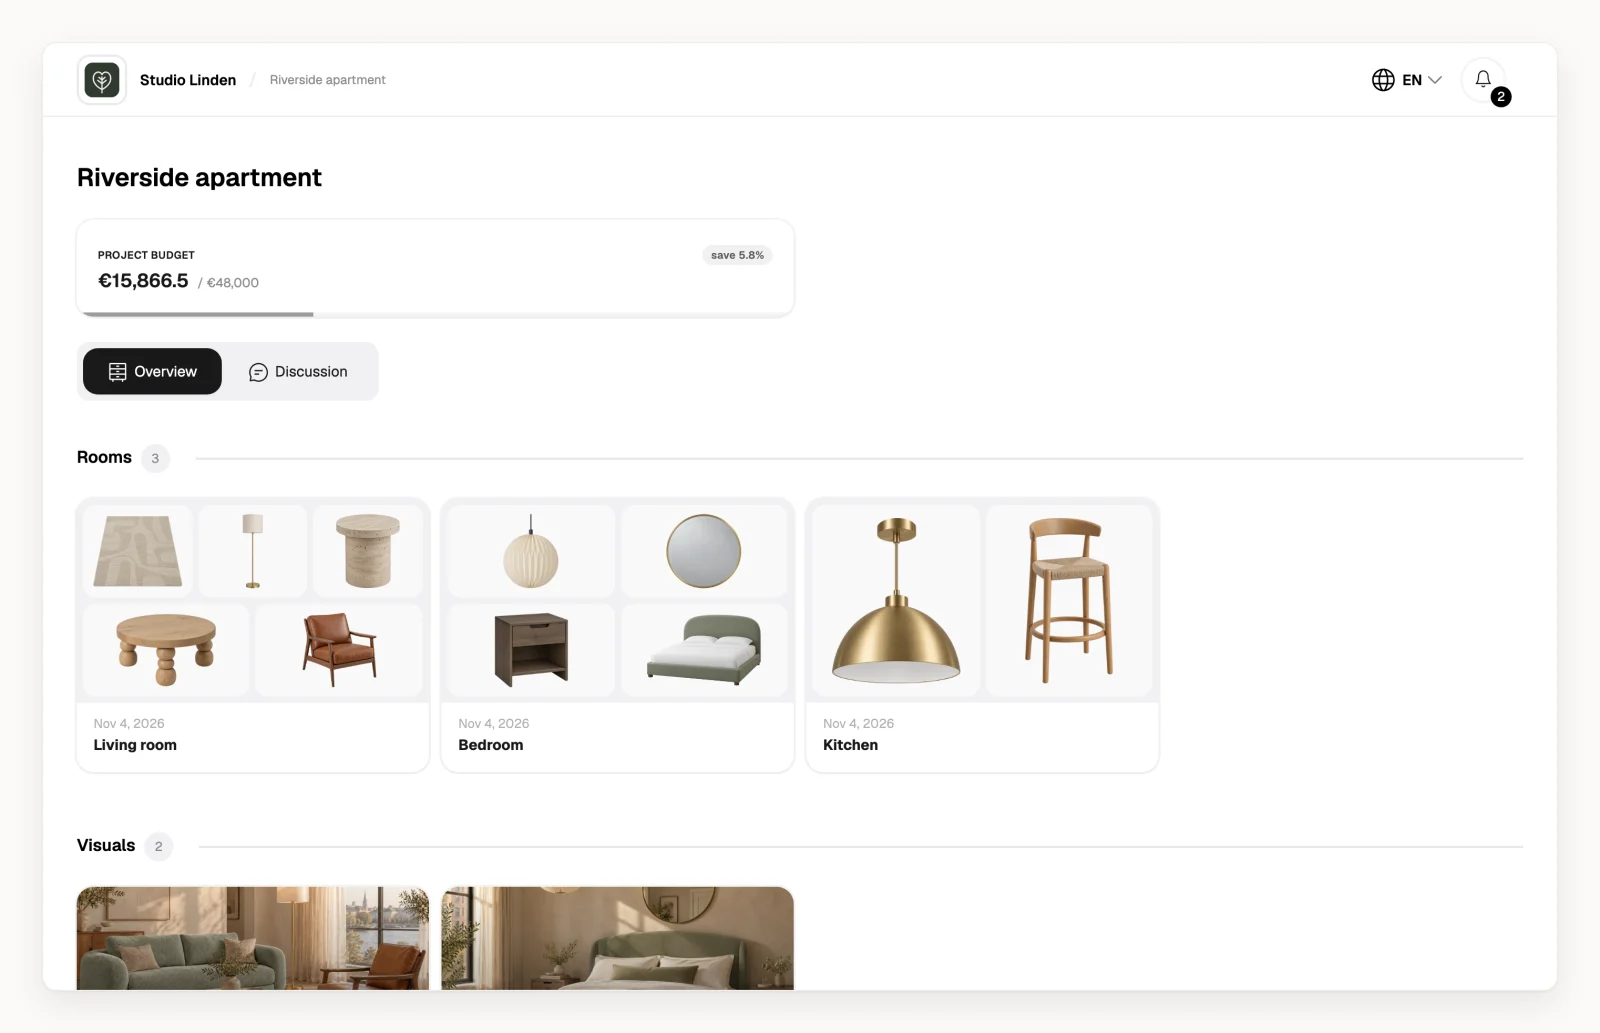
The client sees the current version and can Download it or save it as a PDF. They can't comment on or approve a visual, don't get a notification when you add one, and never see your description, earlier versions or prices. The product list follows their permissions, such as Product links and Product details.
Hide a visual from clients
In the project's Visuals section, hover over the visual, click and choose Hide from clients. A visual's card in a room has the same option, and Show to clients brings it back. Hiding applies to every client of that project.
A visual on a room shows only to clients who can see that room: see How do I control what a client can see and do?
Send a share link
- Open the visual and click Share in the black toolbar.
- Click Create a share link, then Copy link.
Anyone with the link sees the current version on a Densy page, with the Densy logo rather than your studio's, and can download it. The link doesn't expire. It doesn't follow any client's permissions and shows every product link and detail on the list; use Hide products on the visual if the list shouldn't be there.
To turn it off, click Share, click next to the link, choose Stop sharing and confirm. The old link stops working; sharing again gives you a new one.